
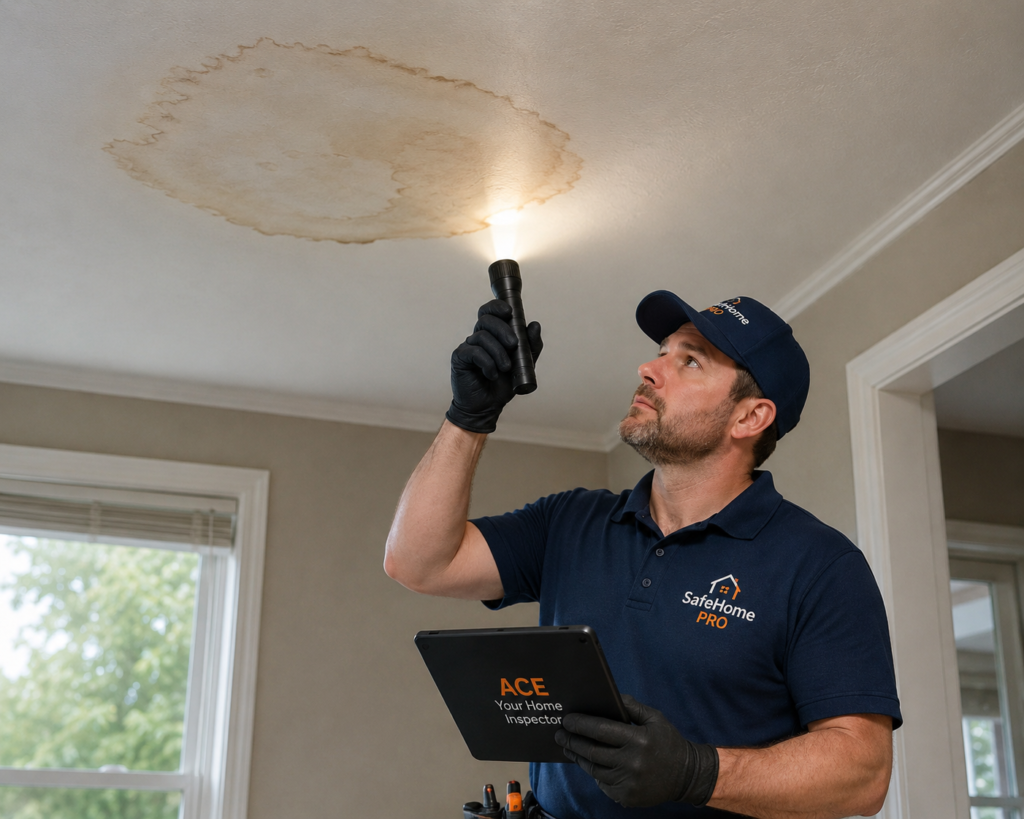
Bubbling Paint on Ceiling: Causes, Severity, and Repair Sequence for Homeowners
Bubbling paint on ceiling drywall is a more advanced moisture signal than most homeowners realise — and it’s often the first time the problem becomes obvious. This guide walks through why ceiling paint bubbles, when it’s a cosmetic issue versus a structural one, and the right order of repair.
What’s Actually Happening Underneath the Bubbling Paint
Bubbling paint on ceiling surfaces is what happens when something gets between the paint film and the drywall surface. In nearly every case, that something is moisture. As water saturates the gypsum behind the paint, it lifts the paint layer up; as the area dries, the bubble flattens or sags but rarely re-bonds. The result is a soft pocket on the ceiling that pops or peels with the lightest touch.
It’s tempting to treat bubbling as a paint problem — sand, fill, repaint. That works only if the moisture source has been stopped and the area has fully dried. Painting over bubbling that’s still receiving moisture only delays the diagnosis and usually makes the eventual repair larger.
Paint blistering on your ceiling?
Describe where the bubbles are, when they appeared, and whether the surface feels soft — ACE will help you understand the cause and the right repair sequence.
What Typically Causes Paint to Bubble on a Ceiling
1. Active or recent moisture
By far the most common cause. A roof leak, a slow plumbing leak, an HVAC condensate overflow, or attic condensation has saturated the gypsum and pushed the paint film off the surface. The bubble is the symptom; the leak is the cause.
2. Sustained high humidity
Bathrooms without proper ventilation, kitchens with no exhaust fan, finished basements with high humidity — these can all cause paint to bubble even without a discrete “leak.” The drywall slowly absorbs water vapor and the paint film loses adhesion.
3. Paint applied over a wet or damp surface
If a previous painter rolled latex over drywall that hadn’t fully cured (new construction, after a flood, after a recent leak repair), bubbling can appear weeks or months later as the moisture works its way out.
4. Incompatible paint layers
Latex over older oil-based paint, or paint applied over a glossy ceiling without primer, can fail at the bond line and lift in localized areas. Less common than moisture but worth noting.
5. Heat from below
Steam from a kettle directly under a ceiling area, or a heat lamp pointed at painted drywall, can soften paint enough to bubble. Rare, but it happens in older bathrooms with poor ventilation.
If you have to bet, bet on moisture. The other causes account for a small minority of ceiling paint bubbling cases.
When Bubbling Paint Is Cosmetic vs Structural
| Pattern | Severity | Action |
|---|---|---|
| Small isolated bubble, drywall firm, source confirmed historic | Cosmetic | Scrape, prime, repaint |
| Cluster of bubbles, drywall slightly soft | Moderate | Find source first, dry, then repair |
| Bubbles paired with brown stains | Moderate | Investigate upstream — roof, plumbing, attic |
| Bubbles + sagging drywall | High | Don’t paint — structural repair |
| Bubbles + visible biological growth | High | Assessment before disturbing |
| Bubble that re-fills with water when popped | Urgent | Bucket, breaker off if near fixture, pro today |
Crucially: a bubble that pops and releases water is a sign that water is collecting between the paint film and the drywall. Place a bucket below, turn off the breaker if there’s a fixture nearby, and use a screwdriver or punch to make a controlled relief hole at the lowest point of the bubble. This drains the pocket and prevents the entire ceiling section from saturating and falling.
What a Homeowner Can Investigate
- Press lightly on the bubbled area. Cool, soft, slightly damp = active. Firm and dry = historic.
- Identify what’s above. Bathroom, attic, HVAC equipment, or a roof penetration.
- Track timing. Worse after rain? Worse with bathroom use? Worse in the coldest weeks of winter?
- Look in the attic if accessible. Read our attic moisture signs guide for what to look for.
- Check humidity in the room. A small hygrometer is inexpensive and tells you whether you’re dealing with a discrete leak or chronic high humidity.
- Photograph the bubble before doing anything — scale, location, color tone all matter for diagnosis.
The Right Order: Source, Dry, Strip, Skim, Prime, Paint
- Stop the source. Until water stops arriving, all paint repair is cosmetic only.
- Dry the area completely. A dehumidifier and air movement help. Allow at least a week, longer if drywall was soaked.
- Strip the failed paint. Use a putty knife or scraper to remove all loose, bubbled, or peeling paint. Feather the edges.
- Skim-coat any depressions with drywall compound. Sand smooth.
- Prime with a stain-blocking primer — shellac-based (BIN-style) is the most effective if any staining is present. For pure paint failure with no staining, a quality bonding primer is enough.
- Repaint with matching ceiling paint, two coats, soft edges blended into the surrounding paint.
If the drywall is soft, sagging, or shows growth, skip steps 3-6 and replace the affected drywall section instead. Patching firm gypsum back into a ceiling is straightforward; trying to save soft gypsum almost never holds.
When DIY Stops
Call a roofer, plumber, or HVAC technician for the source side. Call a drywall or restoration contractor for soft or sagging ceilings. For widespread bubbling across a top-floor ceiling, the upstream cause is usually attic-condensation related — an insulation/air-sealing contractor is often the right call, not a roofer. The EPA mold cleanup guidance is a good reference for biological growth scenarios.
Frequently Asked Questions
Only if you’ve placed a bucket below, turned off any nearby breaker, and the bubble appears to contain water. Use a screwdriver at the lowest point. Otherwise leave it intact and investigate the source first.
If you’re absolutely certain the source has been stopped (a fixed leak, a finished bathroom-fan upgrade, etc.) and the drywall has dried completely, yes. Otherwise no — the bubble will return and the repair will be larger.
If the fan’s capacity is right for the room and it actually exhausts outside (not into the attic), yes. Run it for 20 minutes after every shower. If the bubbling continues, the fan is undersized, the duct is broken, or there’s a separate leak source.
Three usual reasons: the moisture source is still active, the drywall didn’t fully dry before repainting, or no stain-blocking primer was used to lock the failure layer. Check all three.
It can be, but not always. Mold grows where moisture has stayed for at least 24-48 hours. A short-term saturation event that dried quickly may bubble paint without growing anything. Recurring bubbling, musty smell, or visible perimeter growth are different signals.
If the drywall under the bubble is firm, no — scrape, skim, prime, paint. If it’s soft or sagging, yes — cut out the affected section and patch in fresh drywall. Soft gypsum doesn’t recover.
Continue Reading
The full plain-language hub on home moisture — where it comes from, what it does, and how to read it.
Open the hub ›Reading the pattern of a ceiling stain — size, shape, edges, and timing.
Read guide ›Old vs new, deposits vs growth, and the right repair sequence.
Read guide ›The early warnings homeowners can catch before damage spreads.
Read guide ›Timing and attic clues that separate the two most common diagnoses.
Read guide ›A homeowner’s read of what’s normal up there — and what isn’t.
Read guide ›The free seasonal walkthrough that catches issues early.
Open the checklist ›Bubbling Paint? Show ACE What You’re Seeing.
A photo, a description, and the timing — ACE will walk you through what the bubble likely means and where to investigate next.