Ice Dam Warning Signs: How Homeowners Catch Roof-Edge Trouble Before It Becomes a Leak
Ice dam warning signs almost always show up well before water arrives inside the home — if you know what to look for. A ridge of ice at the gutter line, big icicles on north-facing eaves, a damp spot on an upstairs ceiling after a warm winter day: these are the home telling you that heat is escaping into the attic and melting snow it shouldn’t. This guide walks through the signs, the physics behind them, and what to do in cold weather and in the calm of summer.
Why Ice Dam Warning Signs Are Worth Watching For
Ice dams are one of the most predictable winter problems in cold-climate homes — and one of the most preventable. The physics is straightforward: warm air leaking into an attic melts snow on the upper portion of the roof; the meltwater runs down toward the eave, where the roof overhangs unheated outside air; the water refreezes there, forming a ridge of ice; subsequent meltwater backs up behind the ridge, finds its way under the shingles, and ends up inside the home. By the time water is dripping onto an upstairs ceiling, the dam has been quietly building for days or weeks.
The good news is the early warning signs are easy to learn and easy to spot. Once a homeowner can recognize what an early ice dam looks like — from the curb, on a cold day, with no ladder — the conversation shifts from emergency response to a calm winter routine. This guide is built around the visible signs first, the physics second, and the calm-weather permanent fixes last.
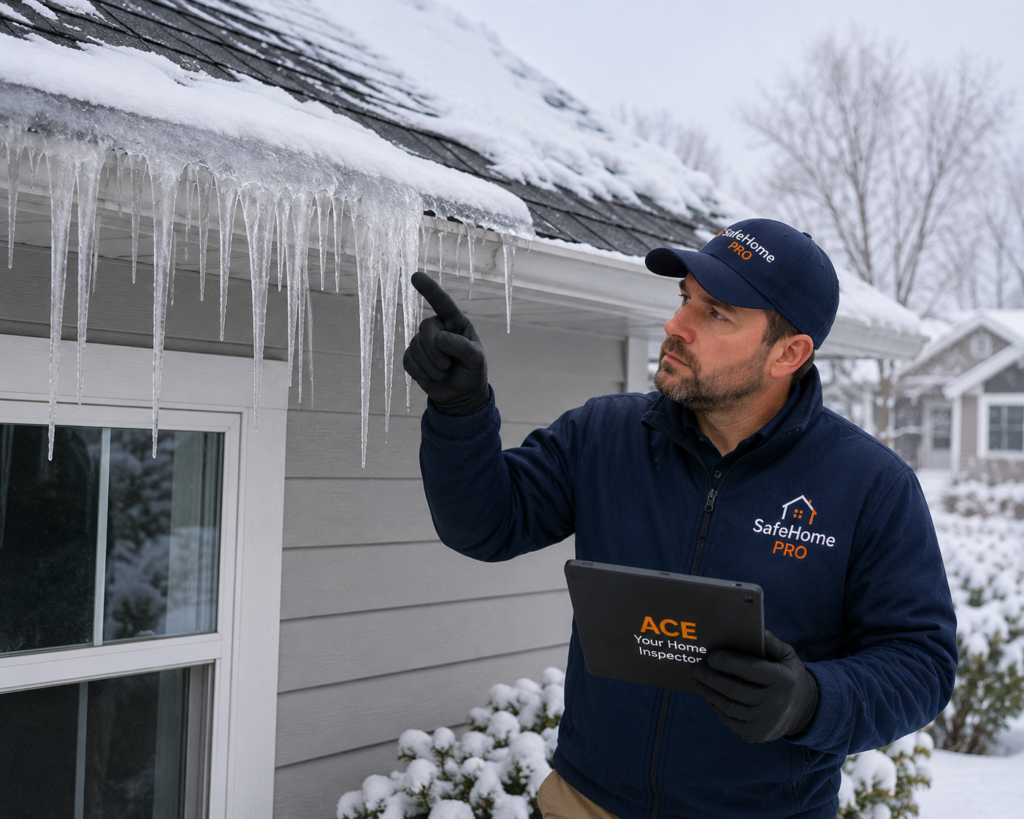
Ridges of ice forming along your eaves?
Describe what you're seeing inside and out — ACE will help you assess the urgency and walk you through the calm winter-day playbook.
The Visible Warning Signs of an Ice Dam
A ridge of ice running along the gutter line
The clearest sign. A continuous ridge of ice an inch or more thick, sitting on or just above the gutter and running along a stretch of roof edge, is the dam itself. It often appears first on the north-facing or shaded sides of the roof, then spreads.
Heavy, clustered icicles hanging from one section of eave
A few small icicles after a thaw are not necessarily a dam. A thick cluster of icicles — especially in one focused area of the roof edge — is usually meltwater running off the back side of a forming dam. Pattern matters more than count.
Snow patches that melt faster than the surrounding roof
Walk around the house after a snowfall. Are there bare patches or thin spots on the roof while the neighbours’ roofs are still fully covered? Heat is escaping through that area of the attic. That same heat will produce a dam at the eave directly below it.
Icicles inside the soffit
If air can reach the underside of the soffit and freeze, water is finding its way somewhere it shouldn’t. Inside-the-soffit ice is a strong signal that meltwater is backing up under shingles and into the eave area.
A water stain or damp spot on an upstairs ceiling after a warm spell
The interior end of the same problem. Stains near exterior walls, especially in bedrooms and bathrooms on the top floor, that appear after winter warm spells are an ice-dam leak signature.
Sagging or pulled-away gutters
A gutter loaded with frozen water can weigh hundreds of pounds. Mid-winter gutter sag or pulling-away from the fascia often points to a heavy dam riding it.
Peeling paint or staining on exterior walls below the eave
Water that finds its way out at the eave can run down the exterior wall, lifting paint and staining siding directly under the affected section — a clue the dam was active here last winter even if you didn’t see it form.
What Actually Causes Ice Dams to Form
Ice dams are an attic-and-insulation problem far more often than a roof problem. Weather plays a role — you need snow and a freeze-thaw cycle — but the difference between a roof that forms dams and a roof that doesn’t is almost always inside the building.
1. Heat escaping from the living space into the attic
The single largest factor. Recessed lights, an uninsulated attic hatch, plumbing-stack penetrations, top plates of interior walls, and bath-fan ducts all leak warm air into the attic. That heat warms the underside of the roof deck, melting snow above the heated portion of the home and sending the water toward the cold eave.
2. Inadequate attic insulation
An attic with thin or compressed insulation transfers more heat from the home into the air just below the deck. The upper part of the roof becomes a warm surface; the eave overhang remains cold; snow melts on the warm part and refreezes on the cold part.
3. Blocked or undersized soffit ventilation
Even a well-insulated attic needs cold outside air moving through it to keep the deck near the outside temperature. Insulation pressed against the underside of the soffit blocks intake. Ridge vents buried under snow block exhaust. Without that airflow, any heat that does enter the attic accumulates and produces snowmelt.
4. Missing or poorly fitted attic-hatch insulation
A small detail, large impact. An attic hatch with no top insulation and no air gasket acts like an open chimney every winter. The plume of warm air it emits melts the snow above it — often visible from the curb as a bare patch on the roof.
5. Bath-fan or kitchen-fan ducts terminating in the attic
Beyond just dumping moisture (see attic condensation), these ducts also carry heat. A bath fan venting into the attic produces a localized hot spot on the underside of the deck that drives a localized dam directly above it.
6. Complex roof geometry — valleys, dormers, low-slope sections
Where roof planes meet, snow collects and melts unevenly. Even on a well-ventilated home, these spots are physically prone to dam formation. The fix here is sometimes adding ice-and-water shield underlayment during a re-roof rather than chasing perfect ventilation.
How ACE Reads an Ice Dam Photo
When a homeowner sends in an ice dam photo, ACE looks first at where on the home the dam is forming. Is it the whole roof edge, or one section? A localized dam over a single room usually points to a single heat-loss source directly beneath — an uninsulated hatch, a leaky bath-fan duct, an unsealed light fixture. A dam that spans the entire eave usually means broader attic insulation and ventilation work. The pattern of melted-out snow on the roof above the dam tells you which one you’re looking at.
The second thing ACE looks at is whether any interior water signs are present yet. A small dam with no ceiling staining inside is a calm-weather permanent-fix conversation. A dam paired with a fresh ceiling stain near an exterior wall is a same-week emergency-response conversation. ACE will help you separate the two so the response matches the urgency.
When Ice at the Eave Is Routine and When It’s Urgent
| What you’re seeing | Read | Action |
|---|---|---|
| A few small icicles after a thaw, no ice ridge | Routine winter | Monitor, plan summer attic check |
| Visible ice ridge but no interior signs | Heat-loss problem forming | Roof-rake the snow above, plan permanent fix |
| Patchy snowmelt on roof while neighbours are still covered | Attic heat loss is significant | Air-seal + insulate before next winter |
| Heavy ice ridge plus dripping water into the soffit | Water is finding paths | Active intervention this week |
| Interior ceiling stain or damp spot after a warm winter day | Water has reached the home | Roof-rake immediately, professional review |
| Gutter pulling away from fascia under ice load | Structural strain on the eave | Reduce load safely, repair in spring |
The biggest decision homeowners face in this category is in-season vs out-of-season. In-season is about reducing the immediate damage — clearing the bottom 3–6 feet of roof snow with a long-handled roof rake from the ground, sometimes installing calcium-chloride ice-melt socks across the dam to open a drain channel. Out-of-season is where the permanent fixes happen — air sealing, insulation, ventilation upgrades.
Do not climb on an icy roof. Do not chip at an ice dam with a hammer or axe — you’ll damage shingles and ice will reform anyway. Roof raking is done from the ground with a long-handled tool, with eye protection and awareness of what’s falling. If conditions don’t allow safe DIY response, call a contractor who specializes in winter dam removal.
What Homeowners Can Investigate Safely
During winter
- Walk around the house once a week after each snowfall. Photograph all four sides of the roof from the curb.
- Note any bare patches, thin spots, or melted-out areas on the roof — mark them mentally for the summer attic walkthrough.
- Check upstairs ceilings (especially near exterior walls) for fresh staining after warm spells.
- If a dam has formed and you have a long-handled roof rake, clear the bottom 3–6 feet of snow from the ground after each snowfall. This denies the dam its supply of meltwater.
- If interior leaks have started, calcium-chloride ice-melt socks placed across the dam at right angles can melt drainage channels — an emergency, not a long-term fix.
During the calm of summer
- Visit the attic with a flashlight on a hot afternoon. Note insulation depth, look at soffit-vent openings from inside, check the attic-hatch seal.
- Find every bath fan and kitchen exhaust. Confirm each vents through a wall or roof cap — not into the attic or just into the soffit.
- Look around the attic for daylight at penetrations — that’s where indoor air (and heat) is escaping.
- If your home had ice dams last winter, this is the summer to air-seal, top up insulation, and add baffles at the soffits. Almost every permanent fix happens in summer.
- Review the DIY home inspection checklist for the attic and roof-edge walkthrough.
When to Bring in a Professional
Most ice-dam permanent fixes are within reach of a homeowner with a free weekend and a willingness to work in an attic. The threshold for professional help moves up when:
- Interior water has appeared — that’s usually a same-week conversation with both a roofing professional and a building-envelope professional.
- Active dams need to be cleared and the conditions aren’t safe to do it from the ground — specialized steam-removal contractors are the safest option in heavy snow regions.
- The attic insulation upgrade, air-sealing, and baffle installation are more work than you want to take on — building-science specialists and many insulation contractors do this as a single-visit job.
- Recurring dams keep appearing despite air-sealing and insulation work — complex roof geometry may require ice-and-water shield underlayment added during a future re-roof.
- The home has structural strain from past ice loads — pulled gutters, damaged fascia, soft sheathing — that need repair anyway.
If you’re weighing whether a current dam is urgent or merely visible, send ACE a photo — the early signs and the genuine warning signs are easy to confuse from the ground.
Frequently Asked Questions
No. A scattered handful of small icicles after a thaw is normal in most cold-climate homes. A dense, focused cluster of icicles in one area of eave, or icicles paired with a visible ice ridge across the gutter line, is the actual warning sign.
They can create drainage channels through an existing dam, which sometimes prevents interior leaks — but they’re a band-aid, not a fix. They’re energy-intensive and don’t address the attic conditions causing the problem. Use them as a short-term measure while you plan the air-seal and insulation work for summer.
No. Chipping with a hammer or pick destroys shingles, voids most roofing warranties, and the ice reforms within hours anyway. Use a long-handled roof rake from the ground to clear snow, or hire a steam-removal contractor for severe dams.
A localized dam usually points to a localized heat-loss source directly beneath: an uninsulated hatch, a recessed light cluster, a bath fan duct, an unsealed top-plate seam. Walk the attic in summer with a flashlight and you can usually find it.
Usually not as the first step. A new roof on the same attic conditions produces the same dams next winter. If the roof is also at end-of-life, plan an ice-and-water shield extension during the re-roof — but address attic heat loss either way.
Resulting interior water damage is typically covered, depending on the policy. The cost of preventing or removing the dam usually isn’t. Document interior damage with photos before any cleanup, and check your specific policy with your insurer.
For most cold climates the recommendation is R-50 to R-60 (roughly 16–20 inches of cellulose or blown fibreglass). Equally important: it should be evenly distributed and not blocking the soffit vents. A summer attic walkthrough usually answers the question quickly.
Continue Reading
The full plain-language hub on home moisture — where it comes from, what it does, and how to read it.
Open the hub ›The indoor sibling of the ice dam — same heat loss, different symptom.
Read guide ›The broader signal list for moisture-related attic conditions.
Read guide ›Helpful when an ice-dam ceiling stain looks like a roof leak.
Read guide ›The early indoor signals that water has reached the drywall from above.
Read guide ›A free seasonal walkthrough — the easiest way to catch the conditions that cause dams.
Open the checklist ›Seeing an Ice Ridge on Your Eaves? Show ACE.
Send a curb photo plus one shot from the attic hatch. ACE will help you decide whether it’s a calm-weather permanent-fix conversation or a this-week active intervention.